Electronics and CNC
I've been wanting to get into electronics and building physical things for a while. I have a lot to learn though. My only exposure to micro-controllers was when I played with an Arduino for a day about two years ago. The last time I picked up a soldering iron or drew a schematic was my lone electrical engineering class in college nearly twenty years ago. My degree is in computer science with a focus on graphic and AI giving me a decidedly software-only career. This makes picking up electronics both challenging and fun.
To start off I decided not to go the easy route; which would be to buy a prefab micro controller and then program it. While I have an Arduino sitting on the shelf, that would be too comfortable for a software guy. Instead I decided to approach this from two directions. First, I bought some kits put together entirely by hand with soldering, no programing at all. This should beef up my skills and introduce to me to the various physical components available (resistors, capacitors, switches, etc.)
Second, I've came up with a project too challenging for someone with my skill level to build: a CNC machine. While I will likely fail during my first attempt, doing something so far out of my areas of expertise will force me to learn a lot of new things.
Learning to Solder
To kick things off I picked up a Larson Scanner kit from the Evil Mad Science store. This kit is quite easy to build; a great starter project for beginners. The micro-controller is pre-programmed and it comes with a PCB (Printed Circuit Board) so you just need to solder in some resistors and LEDs. It even comes with comic book style instructions.
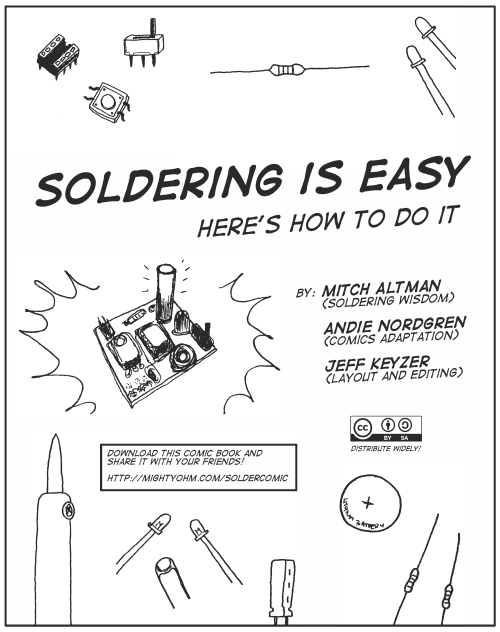
To learn how to solder read this short comic on MightyOhm.com. I was wrong in my initial assumptions. You aren't melting the solder with the iron. Instead you are heading up component and metal pad on the board, which the solder then melts on to. Once I figured that out my joints started to look a whole lot better.
As you can see my soldering skills improved from the beginning to the end of the scanner kit.


Oh, and remember that the battery pack has a switch on it. The first time I put in the batteries nothing happened because I forgot to turn it on. :)
A soldering iron can be had for very cheap, but since I plan to do this for a while I invested in a good one. Spark Fun sold me this soldering station of their own design, which has plenty of power and temperature control, for a very good price ($40).
CNC Machine
Now, on to the CNC machine. A Computer Numerical Control machine, or CNC, is sort of like a plotter. It moves a head in X and Y directions over a surface. However, instead of moving a pen or printer head it uses a drill or other cutting tool. Advanced versions also have a Z axis. This lets you cut many kinds of materials from wood and styrofoam all the way to thin aluminum and sheet metal. And of course it's only a few steps away from having a full 3D printer. All of these features make it a good project for me: something that I can improve over time and has real world uses.
Since I know absolutely nothing about these machines I have a lot to learn. What I've discovered so far is that it's best to start small and build up from there once you have something that works. To that end I created my first prototype of a single axis. It just moves a little carriage up and down a rail using a stepper motor turning a long screw.
CNC Machine Test 01 from Joshua Marinacci on Vimeo.
The stepper motor and driver came from Spark Fun. Interestingly, the stepper driver is actually an open source design called the EasyDriver designed by Brian Schmalz. You could of course build your own from components for less than what SparkFun charges, but I prefer to get the nice polished version rather than saving a few bucks. (And I do mean only a few. SF's is pretty well priced). For power I'm using a 9 volt battery, but will to upgrade to a larger supply once I'm done testing.
The driver is controlled by an older Arduino I already had. The EasyDriver is quite easy to use. You simply toggle one pin for each step and set the direction with a second pin, high or low. Beyond that there is an open source AccelStepper library that can handle multiple motors at once and use acceleration.
I created the metal carriage by hand using aluminum extrusion and brackets from OpenBeam, an open source hardware company based in Seattle. I'll have a lot more on OpenBeam in a future blog soon. OpenBeam uses standard M3 hex nuts so I have a mixture of sliver ones from OpenBeam and black ones from Amazon.
Posted August 13th, 2012
Tagged: electronics arduino cnc